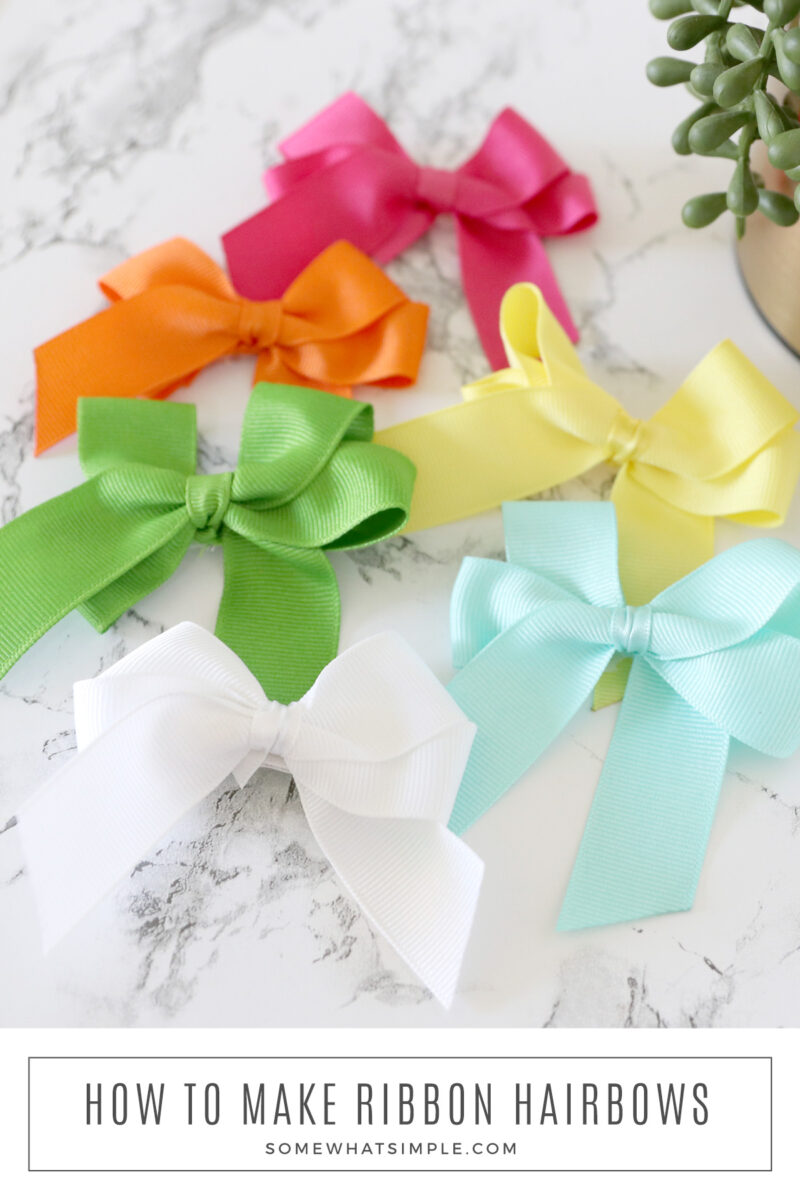
How to Make Hair Bows Step by Step
Learn how to make hair bows quickly and easily with our simple step-by-step picture tutorial!
Here are a few more hair accessory tutorials we think you'll enjoy – Fabric Flower Headband, Bug Bows, and DIY Baby Headbands.
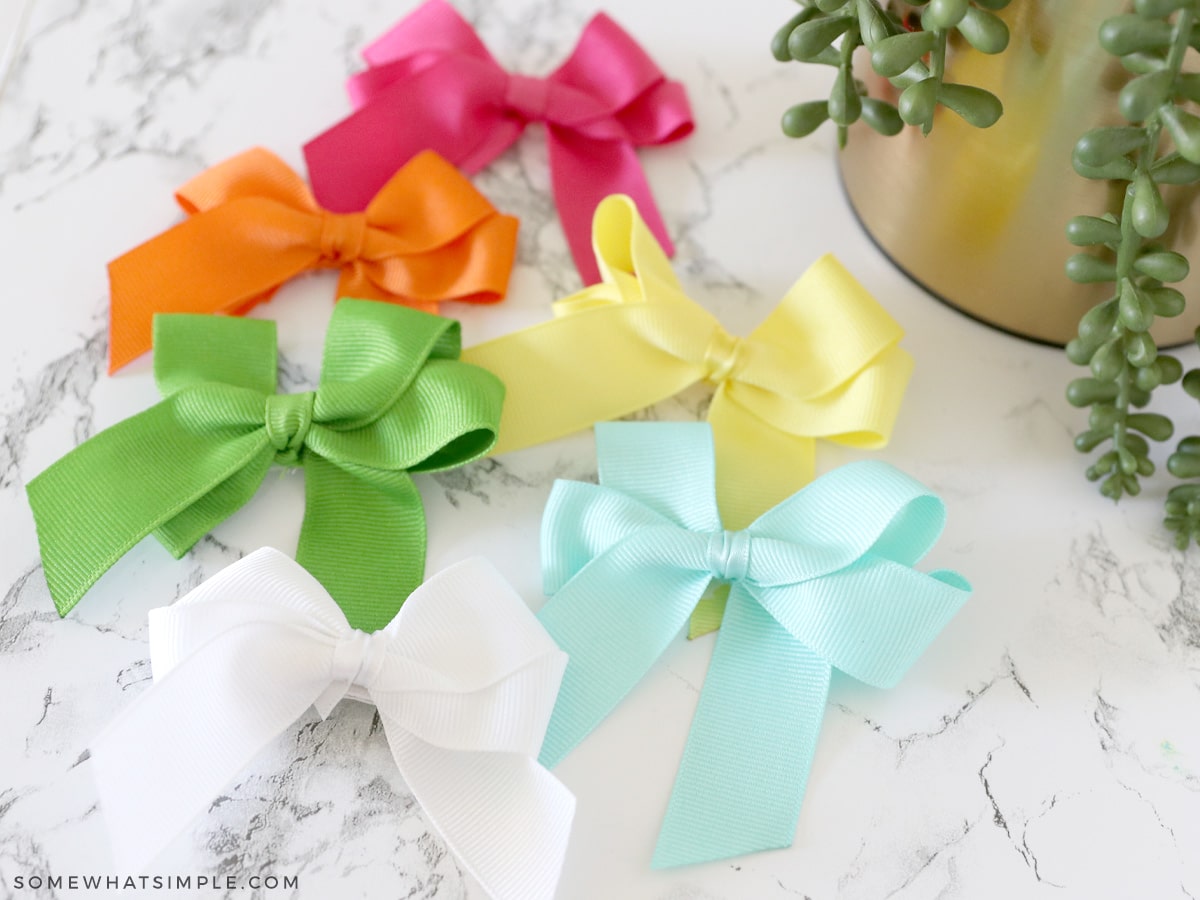
DIY Hair Bows
A little-known fact about me – I started a bow business back in 2001 and made hair bows and accessories for stores and boutiques. I learned how to make a basic hair bow from my best friend's mom, who used to have her own bow business back in the '80s and '90s. I LOVE making hair bows!
When my girls were younger, I use to make matching bows for every outfit in their closet. (It might have been overkill, but it was so much fun!)
There are a million different varieties of hairbows made from a million different varieties of ribbon and embellishments, but I've gotten quite a few requests for a step by step tutorial showing how to make a simple bow… so that's what I'm going to show you today!
If video tutorials are more your thing, here is a video I made a million years ago with a very old cell phone. The quality isn't great, but it walks you through the entire process –
If pictures are more your thing, here's a simple tutorial –
How To Make A Hair Bow
Easy Ribbon Hair Bows
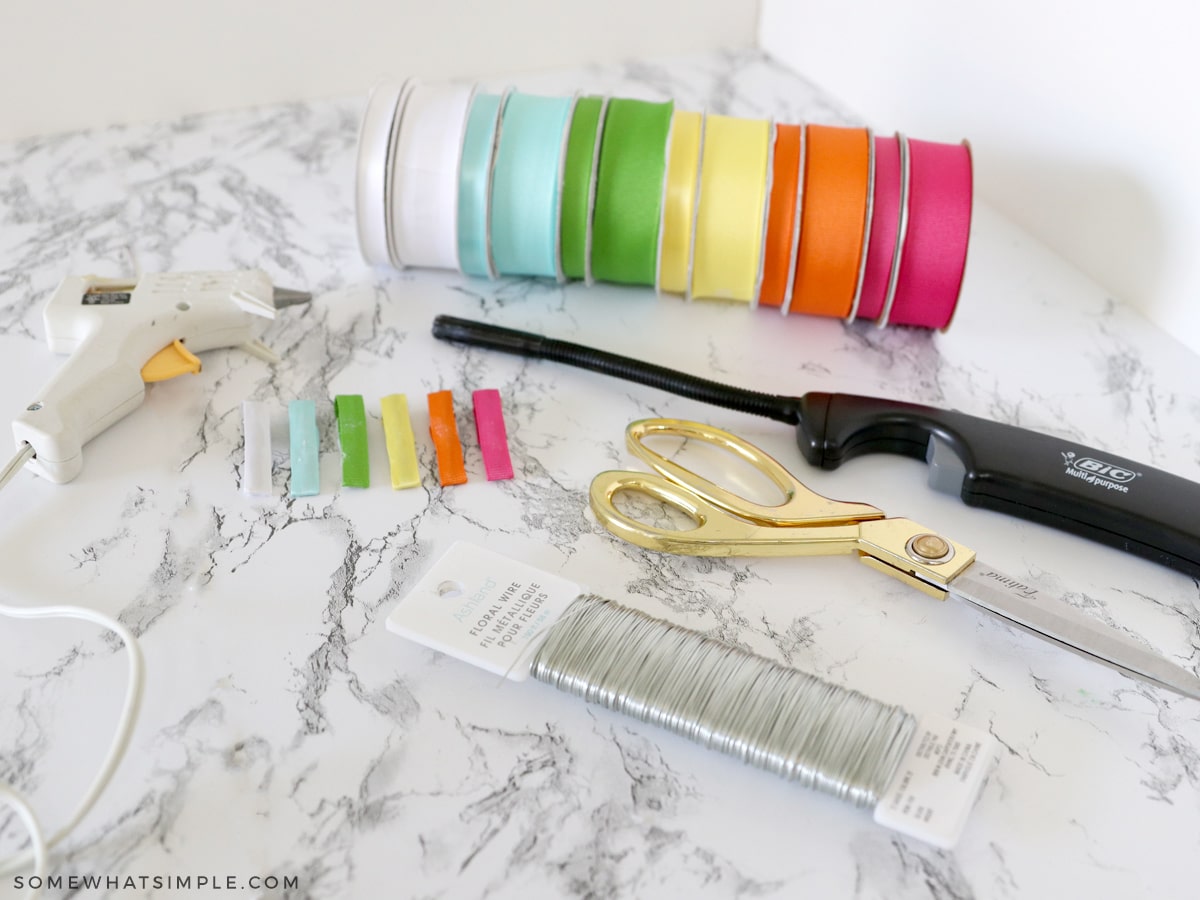
SUPPLIES –
- Approximately 20 inches of ribbon – I used 7/8″ grosgrain, but you can use whatever size and material you'd like!
- Approximately 5 inches of coordinating ribbon for the center – I used 1/4″ grosgrain
- Scissors
- Craft or floral wire – 2-3 inches long
- Lighter
- Ribbon-Lined Alligator Clip
- Glue gun
DIRECTIONS –

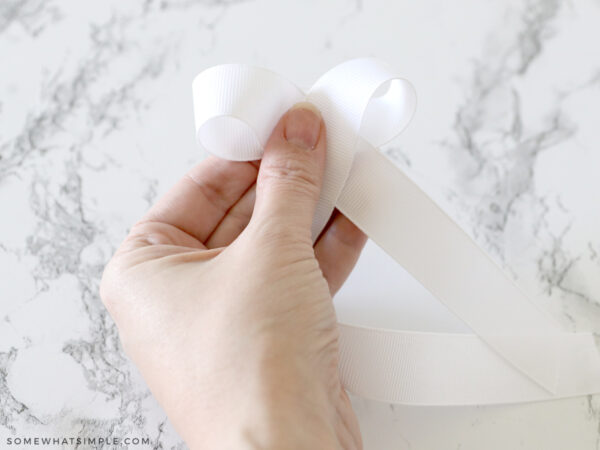
Step 1 – With one end of the ribbon, make a loop.

Step 2 – Make another loop on the opposite side of your first loop. Tuck the short end of the ribbon behind the loops to keep it hidden if you don't want tails, or leave it hanging if you do want tails.

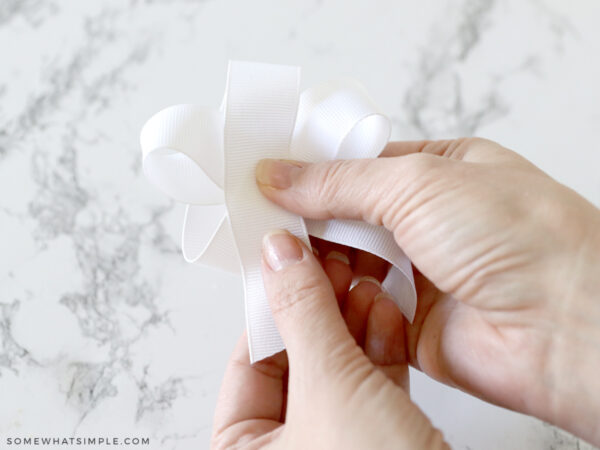
Step 3 – Bring the ribbon (which should be behind the 2 loops out to the side below the first loop you made. Make a loop by bringing the ribbon upward from the backside of the bow towards the center. Place the end of the ribbon over the center of the 3 loops we have now made.

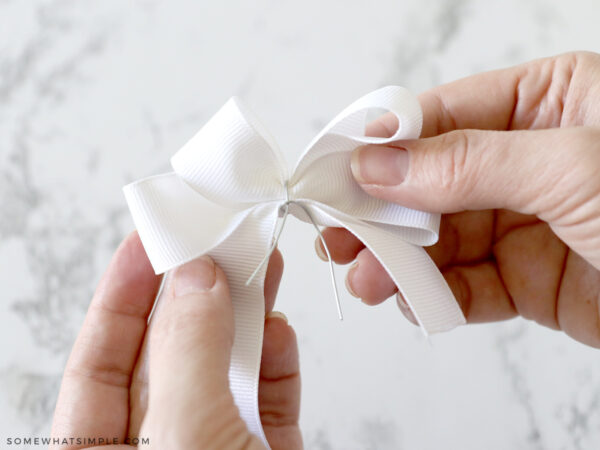
Step 4 – Grab the ribbon, which is on the top right corner, and fold it over and back to the bow's center to make the 4th and final loop. NOTE: Your loops may be uneven right now and that is ok! You will have a chance to fix them in just a minute and it will be way easier than stressing over it now, I promise!

Step 5 – Pinch the center as tightly as you can. Place a piece of wire in the center on the front side of the bow and wrap it around the ribbon to the backside. Secure the wire on the backside of the bow by twisting it several times.
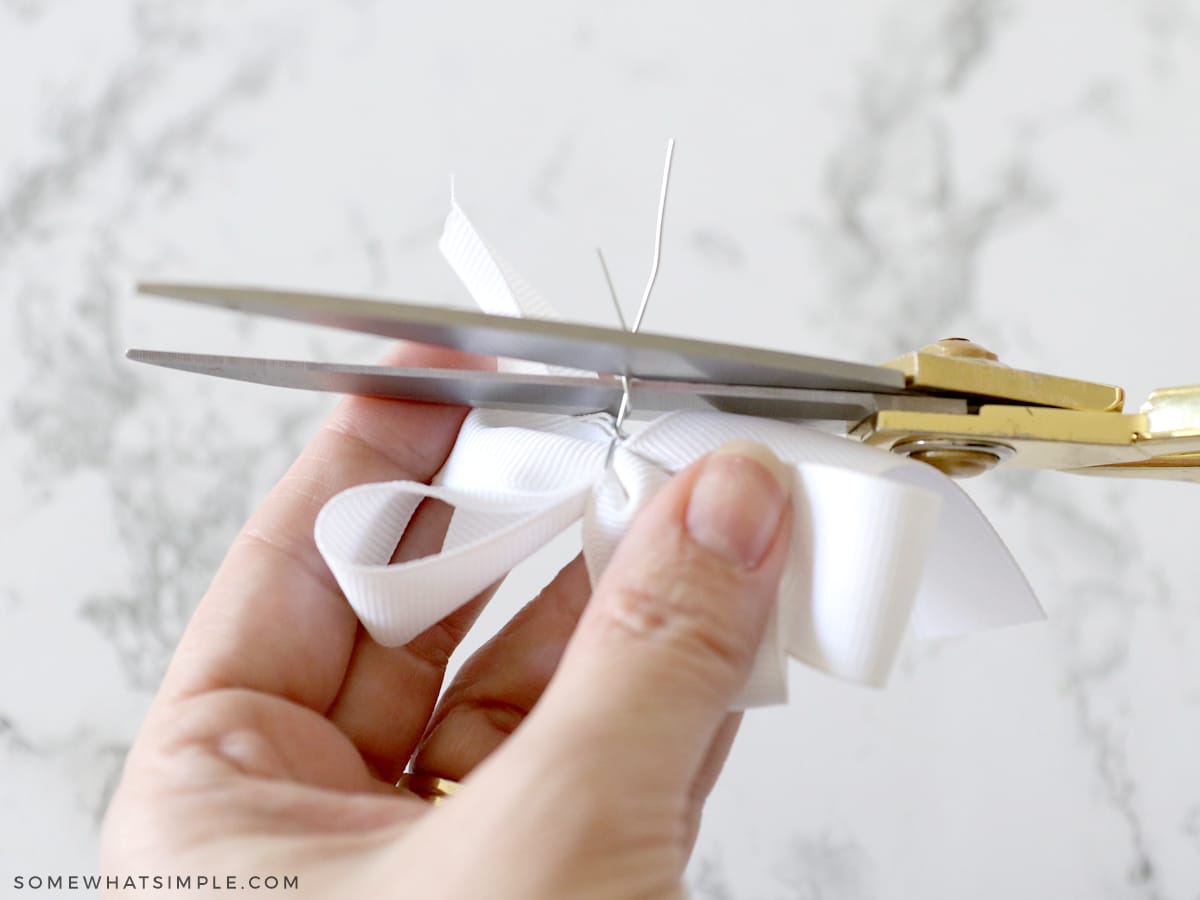
Step 6 – Clip the wires and bend them tightly against the bow.
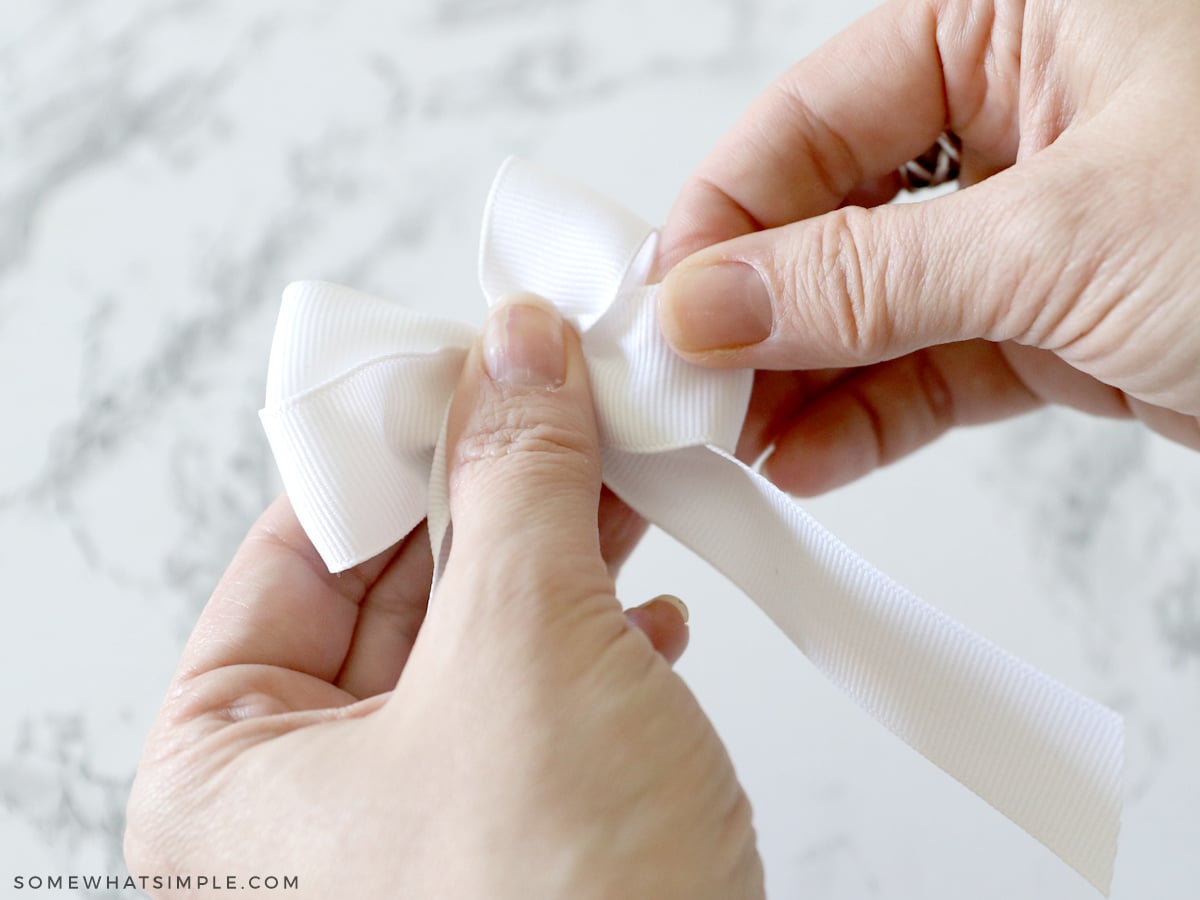
Step 7 – Now that you have the wire securing the ribbon, adjust your loops and make them even by pulling on the loops individually until you get it to your liking.
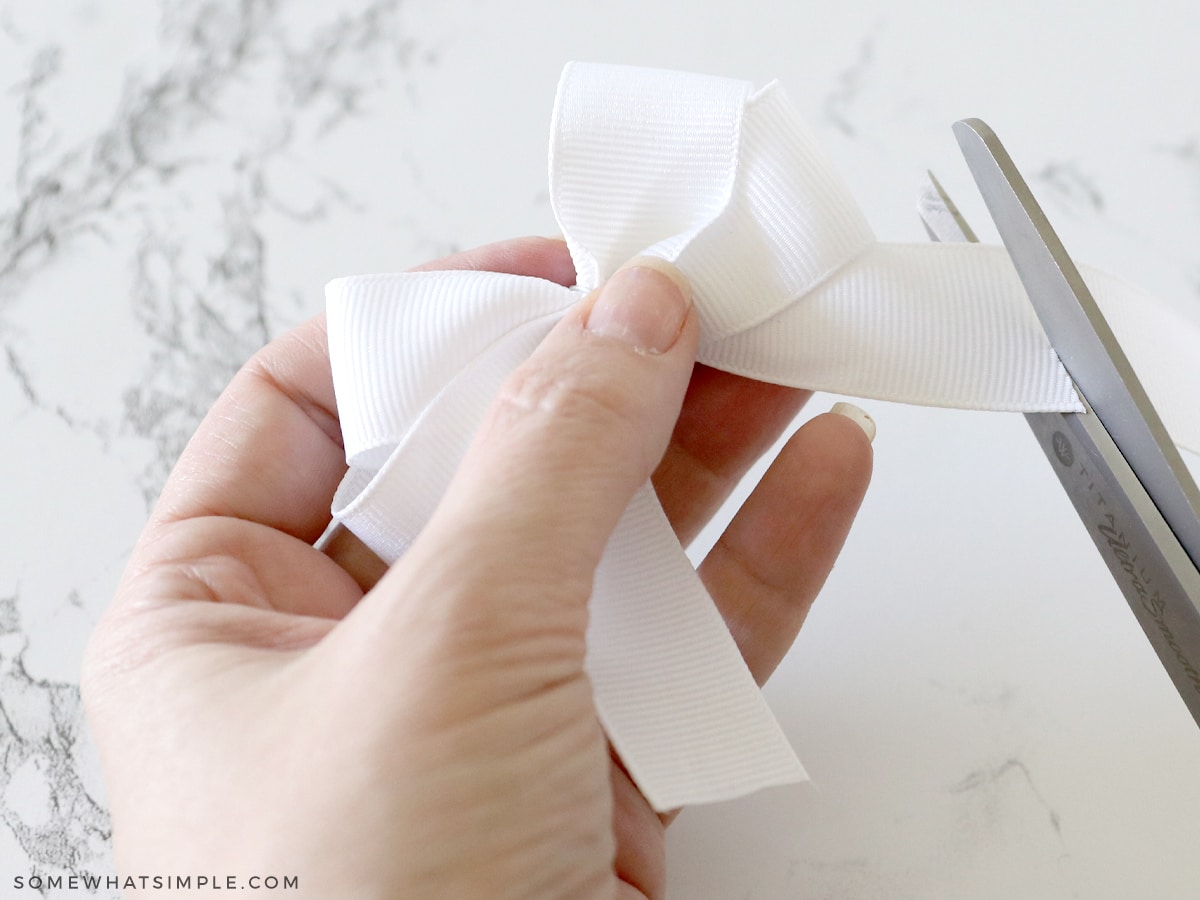
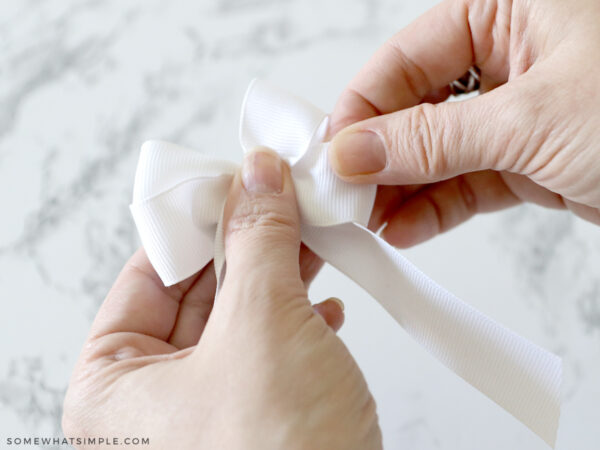
Step 8 – If you have tails on your bow, clip them so they are the same length. If you don't want tails, clip your ribbon on the back to make it short enough to be hidden behind the bow.

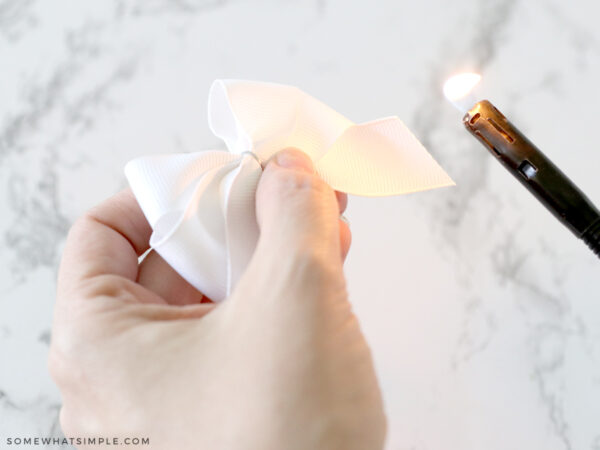
Step 9 – Burn the edges so the ribbon won't fray. Even if you don't have tails, it will still fray unless you do this.
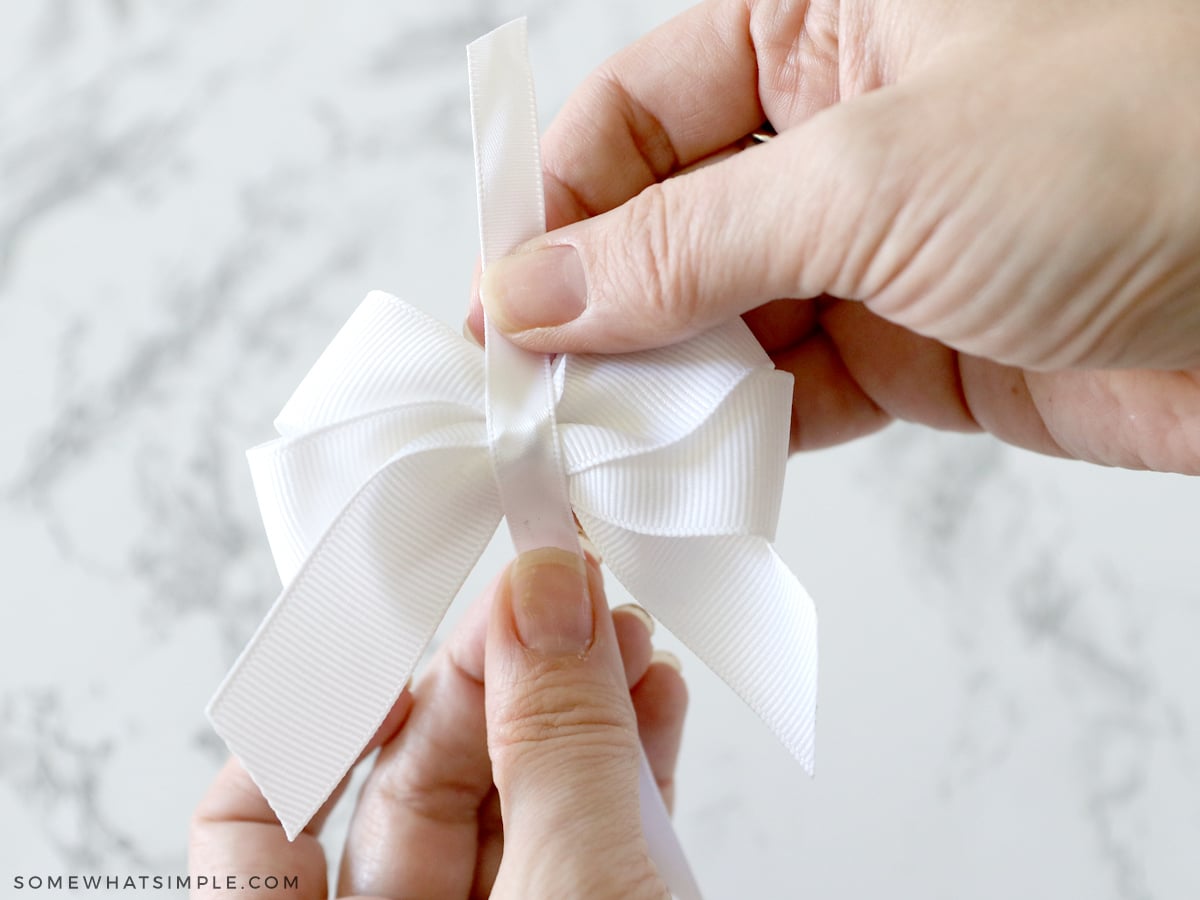
Step 10 – Grab your coordinating ribbon and lay it over the wire in the center of your bow.
Step 11 – Tie a knot in the ribbon on the backside of the bow. (Or you can do this backward which gives you a knotted center and some cute ribbon tails on the front of the bow- but that's not in this basic tutorial- stop making me get ahead of myself!)

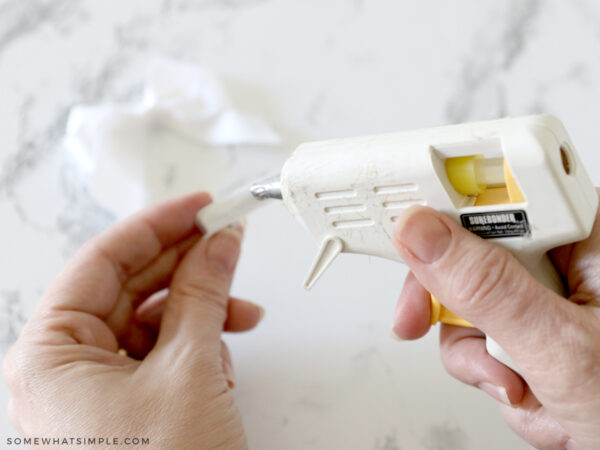
Step 12 – Put a generous amount of hot glue on your ribbon-lined alligator clip. Press the bow tightly to the clip and hold for a few seconds to let the glue dry.
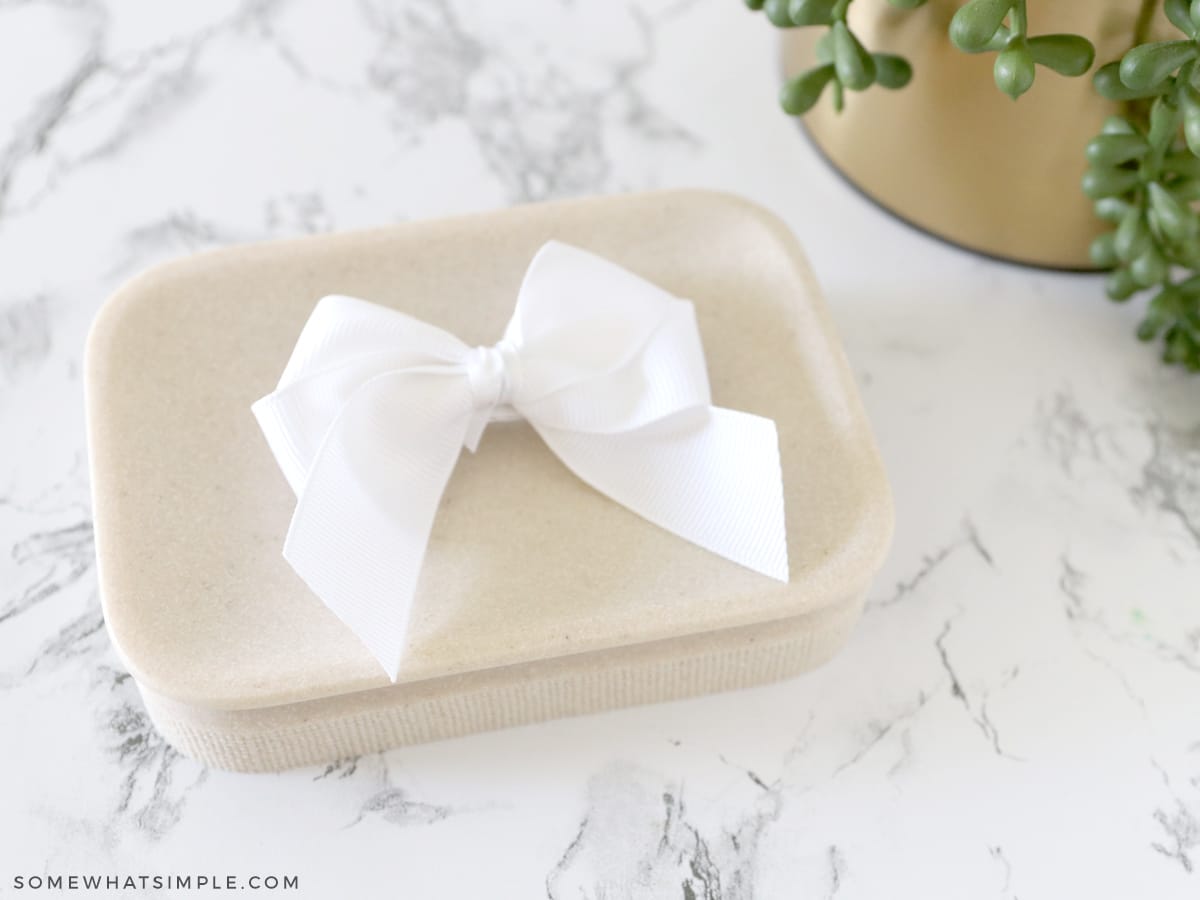
And that's it – just about as basic as you can get!
Next Level – Once you master this, start getting more creative – stack 2 on top of each other, make 6 loops instead of 4, put a knotted center or add a rhinestone or button, leave some long tails etc. The possibilities are endless my friends… enjoy!
Here is a printable tutorial card for your convenience –
How to Make Simple Hair Bows
Learn how to make hair bows quickly and easily with our simple step-by-step picture tutorial!
Prep Time 1 minute
Cook Time 5 minutes
Servings 1 bow
Cost $2
- approximately 20 inches of ribbon – I used 7/8″ grosgrain but you can use whatever size and material you'd like!
- approximately 5 inches of coordinating ribbon for the center – I used 1/4″ grosgrain
- scissors
- craft or floral wire – 2-3 inches long
- lighter
- Ribbon-Lined Alligator Clip
- glue gun
-
With one end of the ribbon, make a loop.

-
Make another loop on the opposite side of your first loop. Tuck the short end of the ribbon behind the loops to keep it hidden if you don't want tails, or leave it hanging if you do want tails.
-
Bring the ribbon (which should be behind the 2 loops out to the side below the first loop you made. Make a loop by bringing the ribbon upward from the backside of the bow towards the center. Place the end of the ribbon over the center of the 3 loops we have now made.

-
Grab the ribbon, which is on the top right corner, and fold it over and back to the bow's center to make the 4th and final loop. NOTE: Your loops may be uneven right now and that is ok! You will have a chance to fix them in just a minute and it will be way easier than stressing over it now, I promise!
-
Pinch the center as tightly as you can. Place a piece of wire in the center on the front side of the bow and wrap it around the ribbon to the backside. Secure the wire on the backside of the bow by twisting it several times.
-
Clip the wires and bend the tightly against the bow. You can even tuck them under the ribbon if you would like to.

-
Now with the wire securing the ribbon, adjust your loops to make them even by pulling on the loops individually until you get it to your liking.
-
Clip the tails of the ribbon to make them the same length. If you don't want tails, clip your ribbon on the back to make it short enough to be hidden behind the bow.

-
Burn the edges so the ribbon won't fray. Even if you don't have tails, it will still fray unless you do this.
-
Grab your coordinating ribbon and lay it over the wire in the center of your bow. Tie a knot in the ribbon on the back side of the bow. (Or you can do this backwards which gives you a knotted center and some cute ribbon tails on the front of the bow- but that's not in this basic tutorial- stop making me get ahead of myself!)

-
Put a generous amount of hot glue on the ribbon-lined alligator clip. If you are making this for little girls, add a small piece of the soft side of velcro by hot gluing it to the inside of the clip. This will grip their fine hair and make sure the bow holds fast and doesn't slip.
-
Press the bow tightly to the clip and hold for a few seconds to let the glue dry.

Busy moms, this one is for YOU!
Our weekly newsletter grants exclusive access to our favorite projects, recipes, free printables, and more!
Subscribe
How to Make Hair Bows Step by Step
Source: https://www.somewhatsimple.com/basic-bow-tutorial/